Children’s artwork captures special moments, new skills, and big imaginations. However, a growing collection of drawings, paintings, paper crafts, and school projects can quickly take over the refrigerator, kitchen counter, and storage spaces.
The goal is not to save every piece of paper. Instead, create a simple system that helps your family enjoy favorite projects while making thoughtful decisions about what to keep. With a few useful habits and storage solutions, you can protect meaningful artwork without letting it become overwhelming.
Start With a Display Area
A dedicated display space gives children a place to show their latest creations. It also helps limit how much artwork is on view at one time.
Choose an area that is easy for children to reach, such as:
– A wall near the kitchen or playroom
– A corkboard or magnetic board
– A wire with clips
– A set of inexpensive frames
– A large art gallery board
Rotate the display regularly. You might change it every week, every two weeks, or whenever the display becomes full. Let your child help choose which pieces go up next. This makes the process feel like celebrating their work rather than removing it.
A display area can also give artwork a clear destination. When a new project comes home, your child will know where it can go before the rest of the house becomes covered in paper.
Create a Short-Term Collection Spot
Before deciding whether to display, store, photograph, or recycle a project, place it in one temporary collection spot. This could be a basket, magazine holder, or labeled box for each child.
A short-term collection prevents artwork from spreading across multiple rooms. It also gives you time to review projects when you are not busy with other tasks.
Try sorting the collection once a week or once a month. During the review, separate artwork into a few simple categories:
– Display now
– Save for a memory box
– Photograph or scan
– Use for cards and gifts
– Recycle
Keeping the categories simple makes the process easier to maintain. Avoid creating too many groups, or sorting may become another chore that gets postponed.
Use One Memory Box Per Child
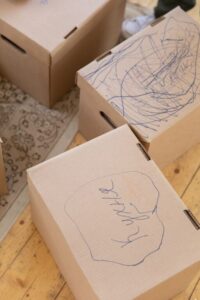
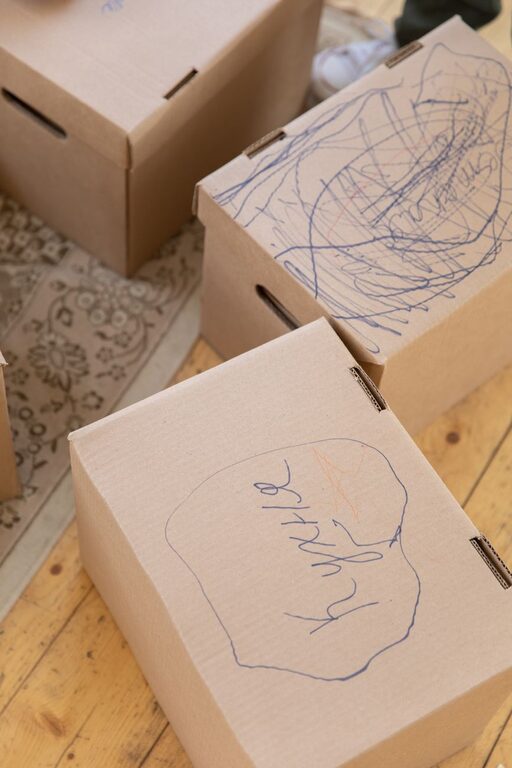
A memory box is one of the easiest ways to preserve favorite artwork. Choose a sturdy container that is large enough for important papers but small enough to set a reasonable limit.
Label each box with the child’s name and the year or school period. Depending on your family’s needs, you might use:
– One box for each school year
– One box for preschool and one for elementary school
– One box for early childhood
– One box for the entire childhood collection
If you use one box for several years, add folders or envelopes labeled by age or year. This keeps the collection easier to browse later.
Do not feel pressure to fill the box. Leave room for especially meaningful pieces, such as self-portraits, family drawings, handwritten stories, or projects that show a new skill.
Set a Practical Saving Limit
A limit makes decisions easier and keeps the collection manageable. For example, you may decide to save only what fits in one folder per year or one section of a memory box.
When the space is full, review the contents together. Ask questions such as:
– Does this show a new skill or interest?
– Does it remind us of a special event?
– Is it especially meaningful to my child?
– Do we already have several similar pieces?
– Would a photo preserve the memory just as well?
This approach focuses on meaning rather than quantity. It also teaches children that their work can be valued without every project needing permanent storage.
Photograph Large or Three-Dimensional Projects
Some projects are too large, fragile, or difficult to store. Take clear photographs of sculptures, cardboard creations, collages, and classroom displays before taking them apart.
For better photos:
– Use natural light when possible
– Place the project against a simple background
– Photograph the front and any important details
– Include the child holding the project for scale
– Add the date, age, and project description
You can organize digital images in a folder for each child and year. Add short notes about the project while the details are still fresh. A simple file name, such as “2026 spring garden painting,” makes photos easier to find later.
You might also create a yearly digital album. A small collection of favorite images can be printed as a photo book or shared with relatives.
Turn Artwork Into Useful Items
Some artwork can become cards, gift wrap, bookmarks, or decorations. This gives children’s creations a second purpose and may make it easier to let go of less permanent pieces.
Consider using artwork to create:
– Birthday cards
– Thank-you notes
– Gift tags
– Bookmarks
– Collage paper
– Seasonal decorations
– Custom envelopes
Invite your child to choose which projects can be reused. Cutting or folding a piece may be easier when they know it is becoming something useful for another person.
You can also keep a small stack of finished drawings near your stationery. When you need a card, you will have a personal option ready to use.
Store Artwork by Size and Material
Different types of artwork need different storage methods. Flat paper can go into folders, while delicate crafts may need boxes with more room.
Helpful supplies include:
– Oversized portfolios
– Accordion folders
– Clear sleeves
– Document boxes
– Mailing tubes for large drawings
– Small containers for craft pieces
– Acid-free paper for especially important items
Avoid stuffing delicate artwork into crowded folders. Paintings may stick together, and folded paper can develop permanent creases. Let wet or thick projects dry fully before storing them.
Keep storage containers in a cool, dry place away from direct sunlight. Attics, basements, and garages may have temperature or moisture changes that can damage paper and fabric projects.
Include Your Child in the Process
Children may have strong feelings about their artwork, even when adults see a project as ordinary. Include them in decisions whenever possible.
You can say:
– “Which three pieces should we save?”
– “Would you like to display this or take a picture of it?”
– “Should we use this drawing to make a card?”
– “What do you like most about this project?”
Avoid criticizing the artwork or comparing one project with another. The purpose of organizing is to recognize effort and memories, not to judge artistic quality.
For younger children, offer two or three choices. Older children can help label folders, photograph projects, and maintain their own collection.
Make Sorting a Regular Habit
Artwork organization works best when it is part of a routine. A small amount of regular effort is easier than trying to sort a year’s worth of projects all at once.
Choose a convenient time, such as:
– The end of each school term
– The first weekend of every month
– A seasonal home reset
– The beginning or end of summer
Keep a recycling bag, camera, folders, and labels nearby so you can finish the process in one session. If you are short on time, simply place new artwork in the collection basket and schedule sorting for later.
Keep the System Simple
The best organization system is one your family can continue using. You do not need expensive supplies or a complicated filing method. One display area, one temporary basket, and one memory box per child may be enough.
Focus on preserving the pieces that tell a story about your child’s growth, interests, and personality. By displaying current favorites, recording larger projects, and storing selected keepsakes, you can enjoy children’s creativity without feeling buried under paper.